Getting Started
Obtaining an Account
When first visiting the site, you will need to register to obtain access to the site tools. You can do this by clicking on the 'New User?' link in the login portal of the Welcome page. Fill out your fullname, requested username, and email address. If you are experiencing difficulties with the site, please send an email to creme@vanderbilt.edu
Navigating the Site
Once you have logged into the site, you have a number of ways to navigate through the site. Underneath the header, you will find the Log In and Location Information. Underneath the Location Information, the site is split into two columns, where the left provides a tools portal and an additional navigation portal, and the right column displays the main content. To access your member area, click on the My Folder link to the right of your name in the top strip. If you do not see your name, or the My Folder link, you have not been properly authenticated.
You are now viewing your member area. Because you have rights to this folder, you will see a green header strip for your member area. The header contains both tabs on the left and menus on the right.

The tabs:
- contents - shows a list of items in a folder
- view - shows the view an anonymous visitor would see
- edit - shows a form for changing an item's view. Note If you click the 'Edit' tab, you MUST either click 'Save' or 'cancel' at the bottom of the window to leave (not just switch to some other object by clicking), or the file will be locked, and not able to be deleted (etc.). If you do accidentally leave a file locked, just go back again to its 'Edit' tab, and cancel the edit.
- properties - shows a panel for changing an item's data
- sharing - shows a form for changing the rights of others to view or change an item's content
The menus:
- actions - performs cut, copy, paste, etc
- display - changes the display type of the current content item
- add item - adds a content item ( image, file, folder, etc )
- state - changes the visibility of the current content item to other users
Security
The 'state' menu may not do exactly what you expect. Note that the options are 'private' or 'published'. The 'published' state makes the object visible to all users, and makes it available in the 'search' box. The 'private' state means the visibility of the object is limited to users listed under the 'sharing' tab, and this potentially could be all users. Thus, even a 'private' object may be visible.
If you wish to have a document be visible in the search box, you must use the 'submit for publication' option of the 'state' menu. Once a site administrator approves the item, it will become fully public and visible in the searches. This feature may be useful for displaying samples of environments which you want to share.
Running the Tools
Once you have logged into the site and have navigated to your member area, you will find links to the CREME tools contained in portals in the left column. You can obtain help on specific tool issues by clicking any of the Help links contained on the site. A good place to start learning about the tools is in the Tutorial section. Please note: If you have not navigated to your member area, you will not have access to the tools.
Transferring Data
NoteThe WebDAV support is still under internal testing. We have not yet enabled it for external users. For now, please download files by clicking on them in the interface. We would like to permit bulk upload & download by DAV, but it has given very odd results, and we will not expose it until it is stable. Sorry.For now, upload files using the 'Add Item -> File' action as described above.
All data generated on the site can be easily downloaded by clicking on the content item. In addition, you can both download and upload files with a WebDAV client. Note that Creme96 environment files (.trp, .flx, .tfx) are fully supported and can easily be reused through webdav.
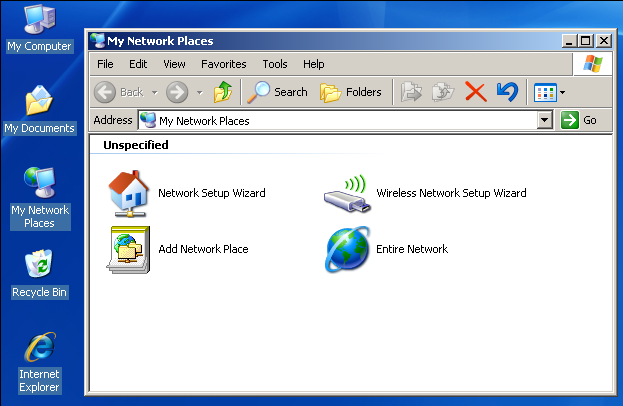
WebDAV in Microsoft Windows
Windows XP and later have built-in support for WebDAV. To use it, open My network places and click Add network place. Enter the URL https://creme-mc.isde.vanderbilt.edu/dav/Members/jsmith replacing jsmith with your username. Fill out your CREME-MC username and password to authenticate. You can now use an Internet Explorer window to manage the files in your member directory. If your version of Windows does not support WebDAV, third party tools are available.
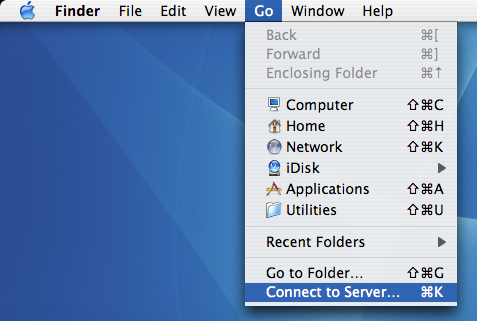
WebDAV in OS X
From the Finder menu select Go, Connect to Server... Enter the URL https://creme-mc.isde.vanderbilt.edu/dav/Members/jsmith replacing jsmith with your username. Click the + button to add it to your favorites. Fill out your CREME-MC username and password to authenticate. You can now use a Finder window to manage the files in your member directory.